Creating a NES Emulator
I read an interesting post about NES internals and its emulation and I immediately wanted to create my own emulator. There is already great documentation about NES, so I will be only writing about my process and giving some links to learn more.
I started by trying to understand the 6502 assembly. This gives nice overview on 6502 instructions and registers. NesDev has also some other nice (but apparently outdated) guides.
Next I went to learn about NES programming and I found a good tutorial. It explains quite nicely how to interact with the picture processing unit (PPU), how the ROM is partitioned and so on. Some details are on a quite high level, so more info can be found e. g. in NesDev Wiki. For instance, the PPU registers are explained in much more depth.
I found an bmp2chr converter
(sources here),
so I managed to create my own sprites. First I drew tile map as BMP using
Asprite, then converted that to CHR. As an
assembler, I used nesasm3
(sources). Windows binaries
were quite easy to come by, but sources (for example using in Linux) were a bit
harder. For emulating first trials, I used
FCEUX Win. There are many
cross-platform emulators, but I found debugger only in Windows version of
FCEUX, so I had to use Wine for that.

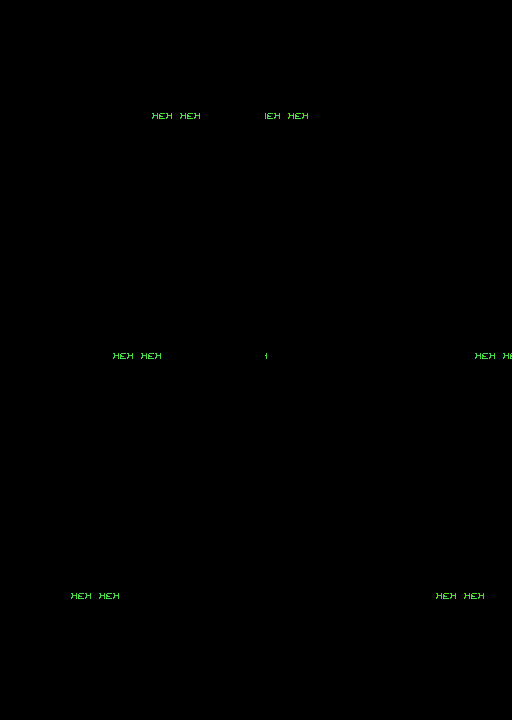
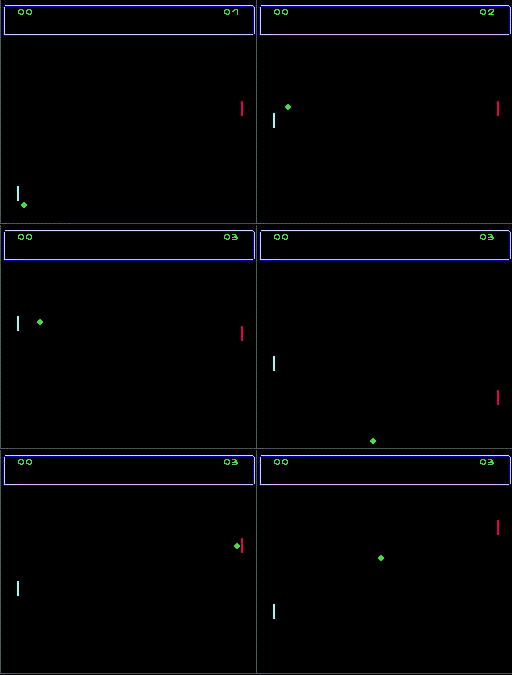
At this point I created two simple NES ROMs. First one had few sprites moving across the screen (above), and the second one was a two-player pong game (below). Sources can be found in Bitbucket (those could be improved - to say the least).

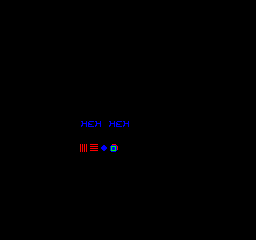
I decided not to handle sounds at this point, so now I was ready for starting the emulator itself. After reading the header, I started handling the opcodes. Fast-forward some time and I was able to even draw some sprites to the screen!

There is still much to do, but the sources can be found from
here (requires clang and
SFML for the build, and gmock and gtest for the tests).